Skyships Enemies: Ship Classes and Target Roles
Identify ten Skyships enemies by ship class, training or bounty role, and encounter hazards, including Marauder Gyurza and the T4 Cruiser Kuvalda.
Last updated:
Effective combat in Skyships starts with selecting an enemy and keeping it within reach. Watch your target panel, weapon status, radar, and hull so you can adjust your approach or retreat before losing your ship.
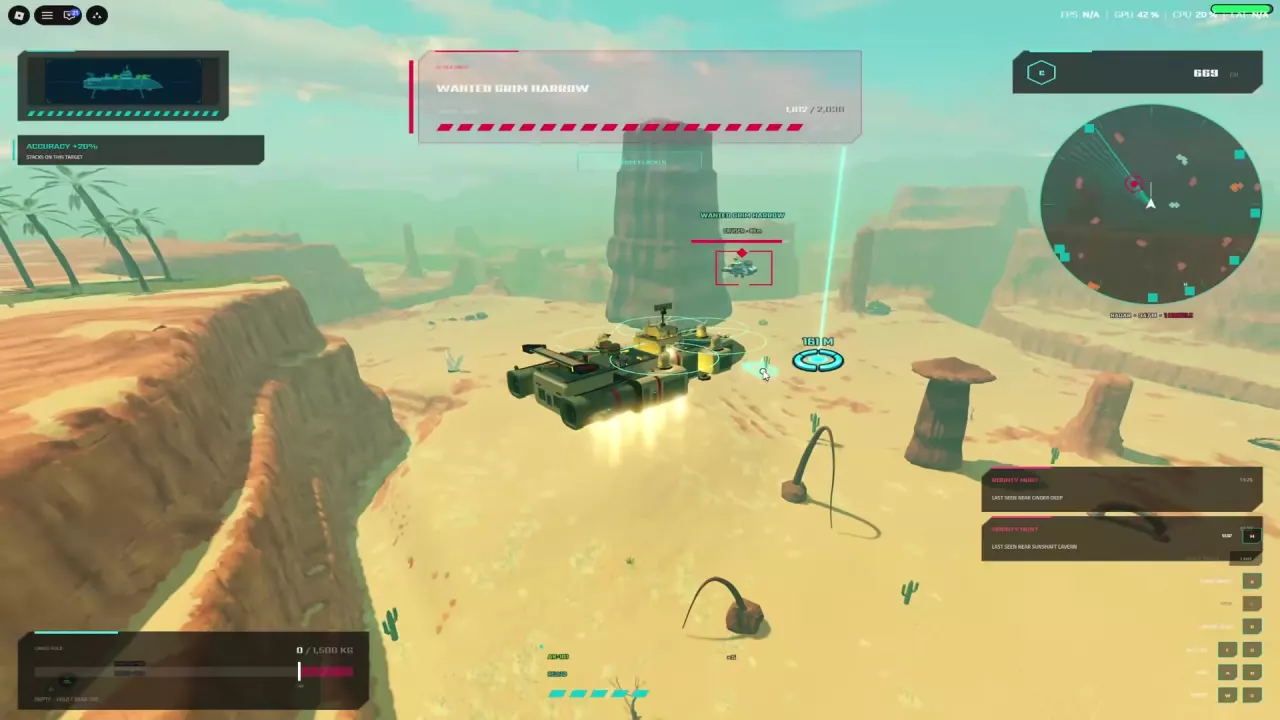
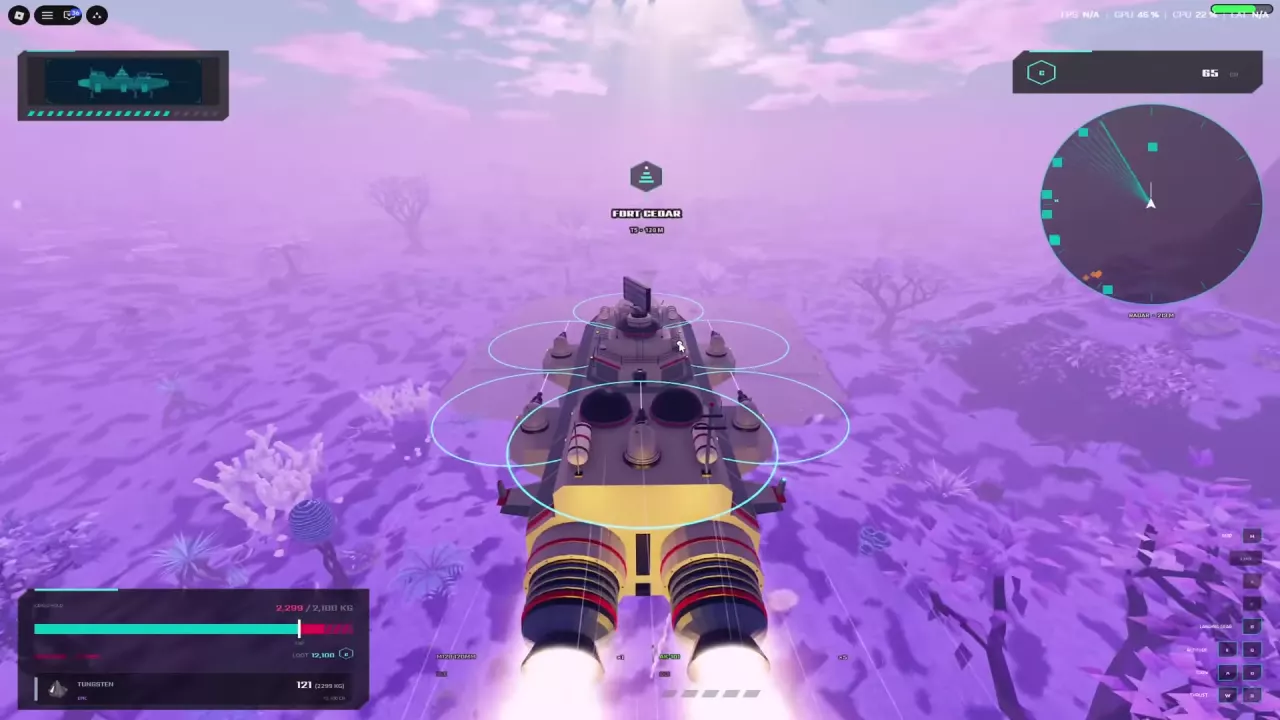
Left-click an enemy to select it and press X to clear it. Move closer for OUT OF RANGE; turn toward the enemy for TARGET OUT OF VIEW. Maneuver during missile warnings, slow down when hull-stress warnings advise it, and retreat toward Fort Cedar’s SAFE ZONE when needed. After destruction, choose R$49 Revive or wait for the free To Hangar option with free repairs. PvP requires a T4 or higher ship.
Start with a weapon equipped on your ship.
Use the enemy ship directory to identify enemy classes and their encounter roles.
Enemy kills can award Credits. With Field Training active, Training Raider and Raider Hornet kills can also advance its kill objective. Check the kill notification and objective counter after a fight; a kill reward and contract progress are separate results. See contracts and objectives for the mission requirements.
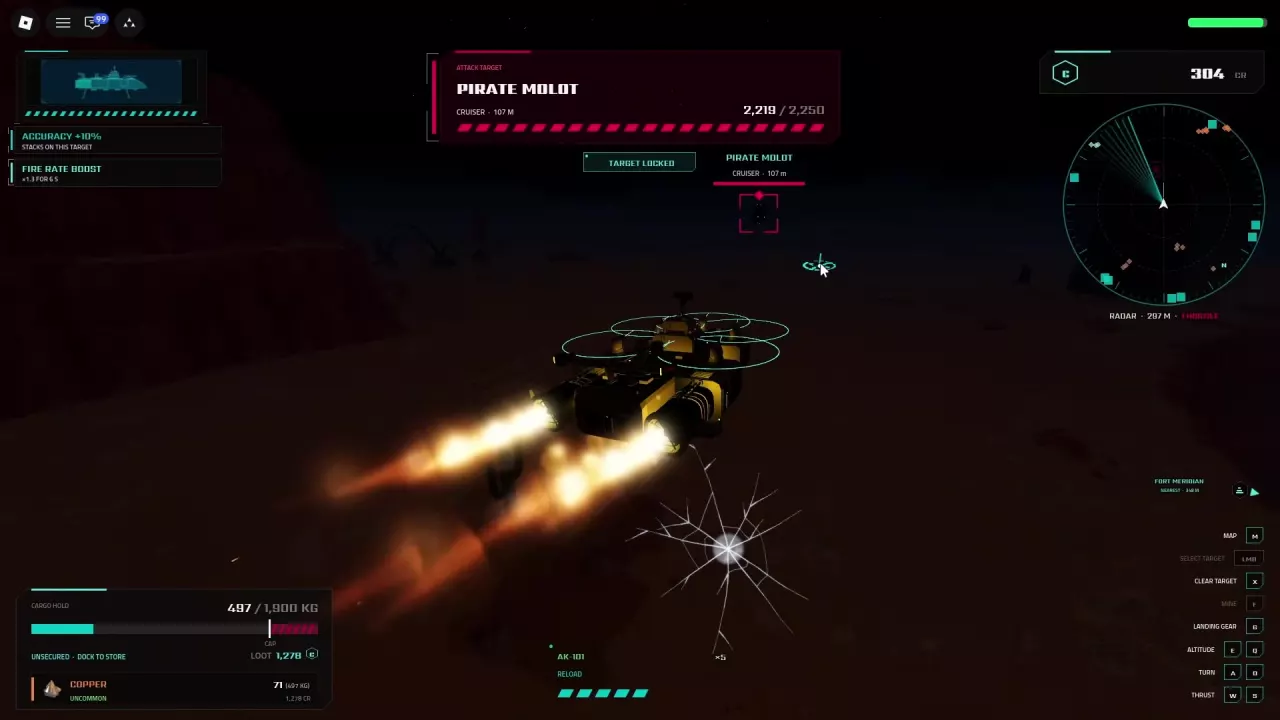
A selected target can still be too far away or outside your view. Match your response to the warning:
| Warning | What to do |
|---|---|
| OUT OF RANGE | Close the distance to the selected enemy while watching the weapon-status display. |
| TARGET OUT OF VIEW | Turn toward the enemy to bring it back into view. |
For example, a ship equipped with three M14 14MM MG guns displayed OUT OF RANGE while targeting a Raider Wasp at approximately 252 meters. Treat that as an out-of-range situation for that setup, not an exact M14 maximum-range specification.
If reaching enemies is a recurring problem, compare the range and practical tradeoffs in the early PvE weapon recommendations.
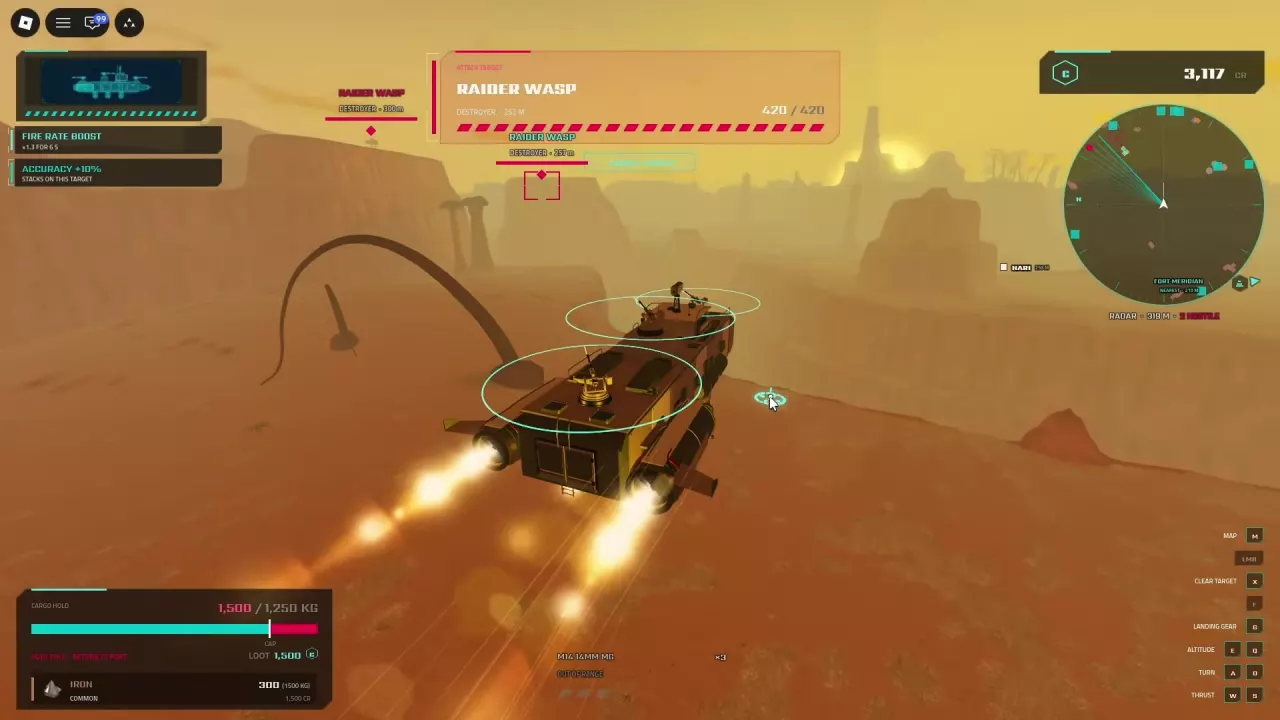
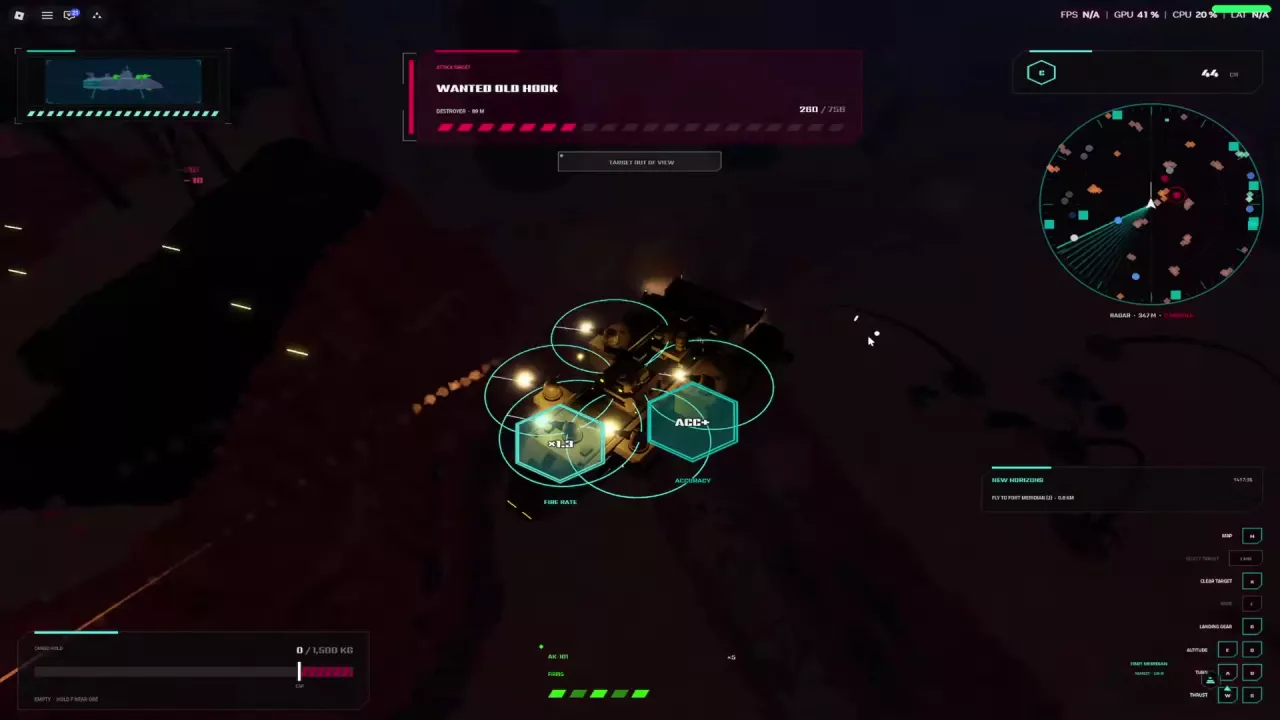
Accuracy can stack on the current target. Read the active bonus beside the combat display rather than treating every fight as having the same bonus.
| Bonus | How to read it | Encounter example |
|---|---|---|
| Accuracy | A percentage bonus tied to the current target. | Against Wanted Grim Harrow, the bonus increased from +10% to +20%. |
| Fire Rate | A multiplier, with a timer when one is displayed. | A Training Raider encounter using three M14 14MM MG guns included ×1.3 for 6 seconds. |
| Reload | An active reload-related bonus shown by its multiplier. | The Marauder Berkut encounter included Reload ×1.25, alongside Fire Rate ×1.3 and Accuracy ACC+. |
Keep the timer attached to the bonus it describes: the six-second example belongs to that Fire Rate boost. Reload ×1.25 should not be read as a stated 25% reduction in reload time.
Incoming-missile warnings can occur during encounters with Marauder Gyurza, a Missile Carrier. Respond by maneuvering and watching your hull condition. If damage is mounting, prioritize leaving the fight over finishing the target.
Reaching the safe zone and storing cargo are separate steps. Finish docking before setting out again with your haul secured. The port and docking guide covers the approach, while cargo and storage explains banking your resources.
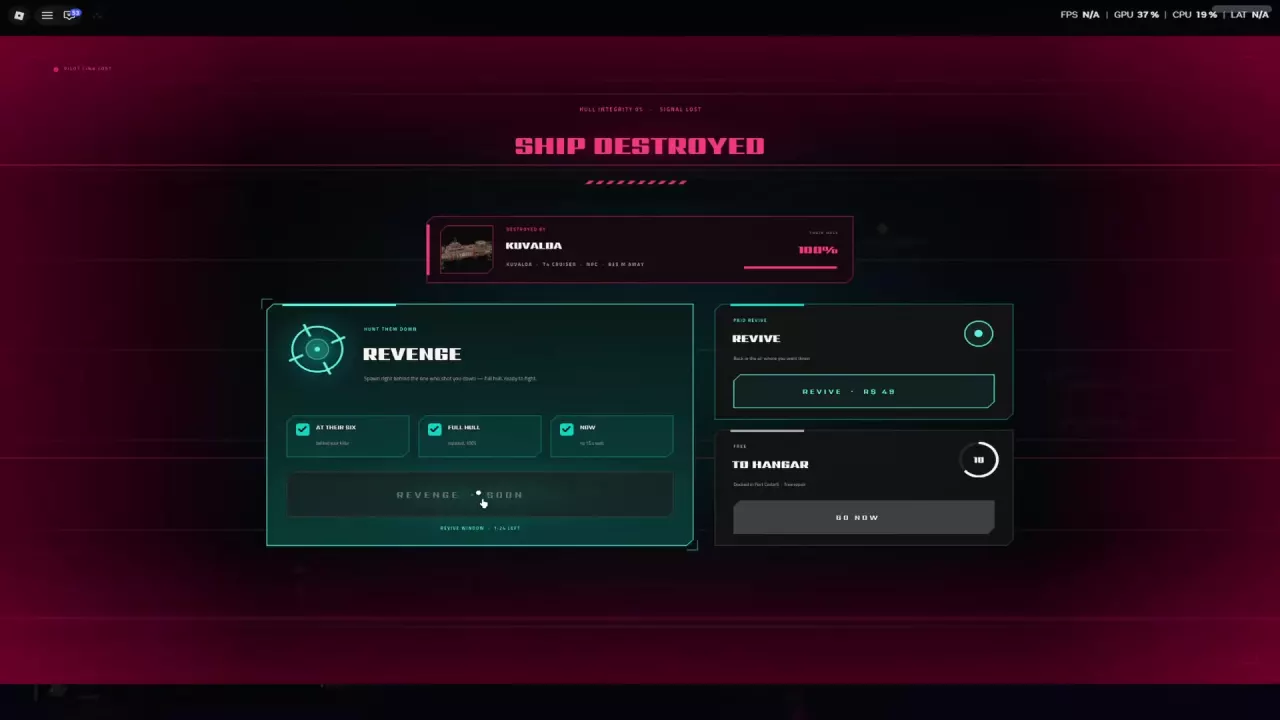
The Ship Destroyed screen identifies your attacker and offers two recovery choices:
| Option | Cost | Action |
|---|---|---|
| Revive | R$49 | Select the paid recovery option. |
| To Hangar | Free | Wait for its countdown, then return to the hangar with free repairs. |
Choose To Hangar if your priority is getting your ship repaired without spending Robux. You do not need to buy Revive to use that free recovery route.
Ship repair and cargo recovery are separate concerns. Do not treat a repaired ship as a promise that all carried cargo will be restored. Store valuable resources by docking before taking another fight; see cargo storage and unsecured cargo.
PvP requires a T4 or higher ship. This is a ship-tier requirement, not a player-level requirement.
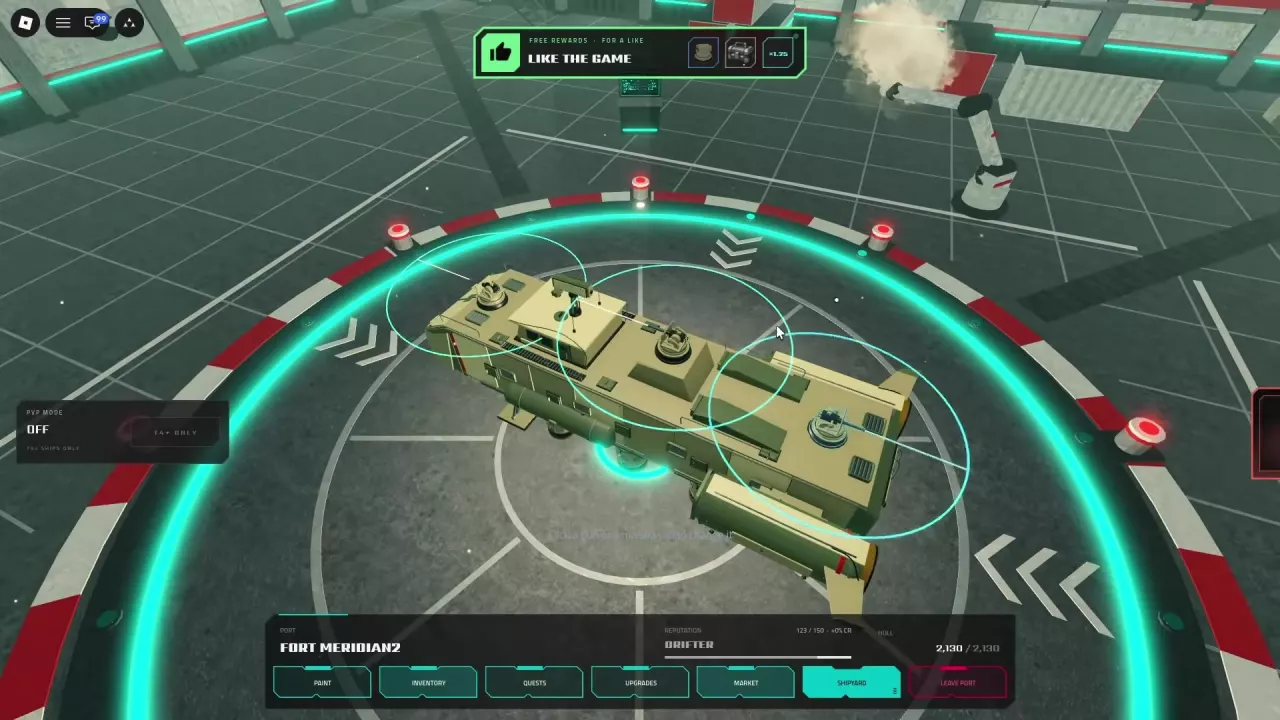
Yes. A Training Raider kill credited 3% damage contribution and awarded 4 CR. A separate Training Raider kill awarded 18 CR, so neither amount should be treated as a fixed payout for every kill.
Identify ten Skyships enemies by ship class, training or bounty role, and encounter hazards, including Marauder Gyurza and the T4 Cruiser Kuvalda.
Choose your early Skyships PvE weapon: M14, Hydra Rockets, AK-101 or Bofors. Compare starter access, practical reach, unlock costs and mount compatibility.
Find Skyships PC controls for flight, landing gear, mining, targeting and the map, and learn how to respond to hull stress warnings.
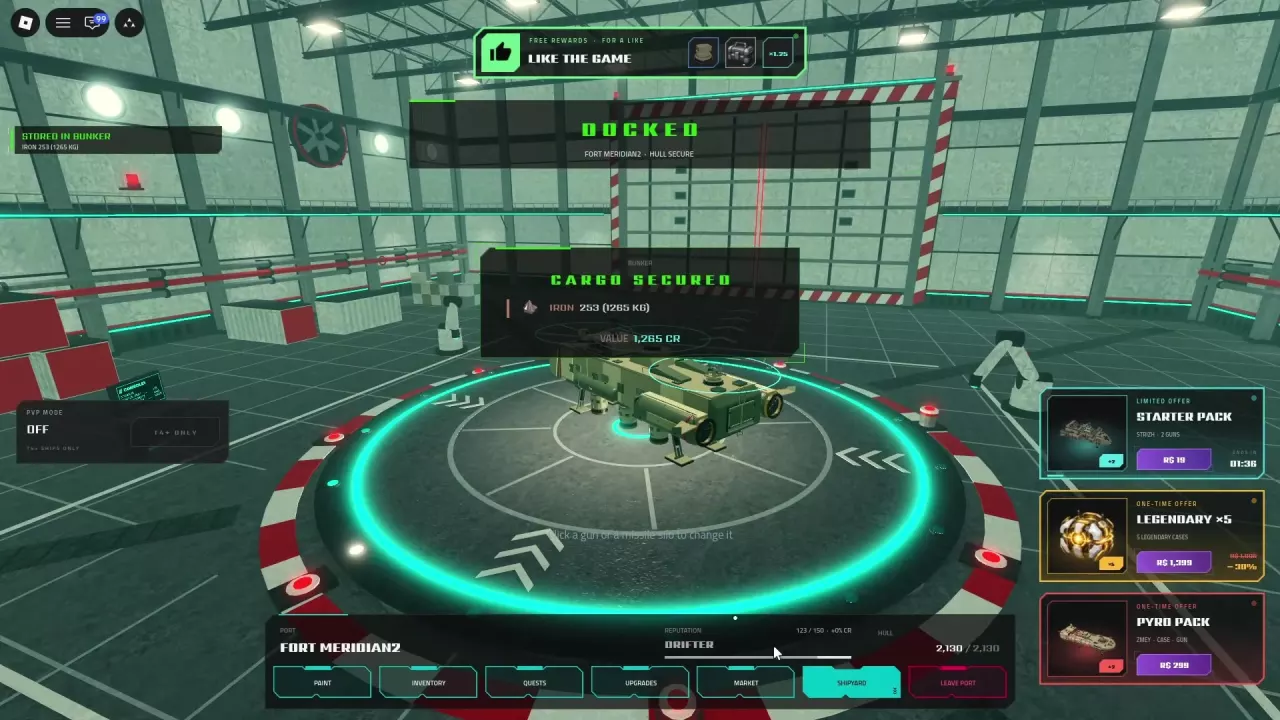
Learn how Skyships cargo weight and overload work, how to store resources in the Bunker, and which upgrades improve cargo retention.
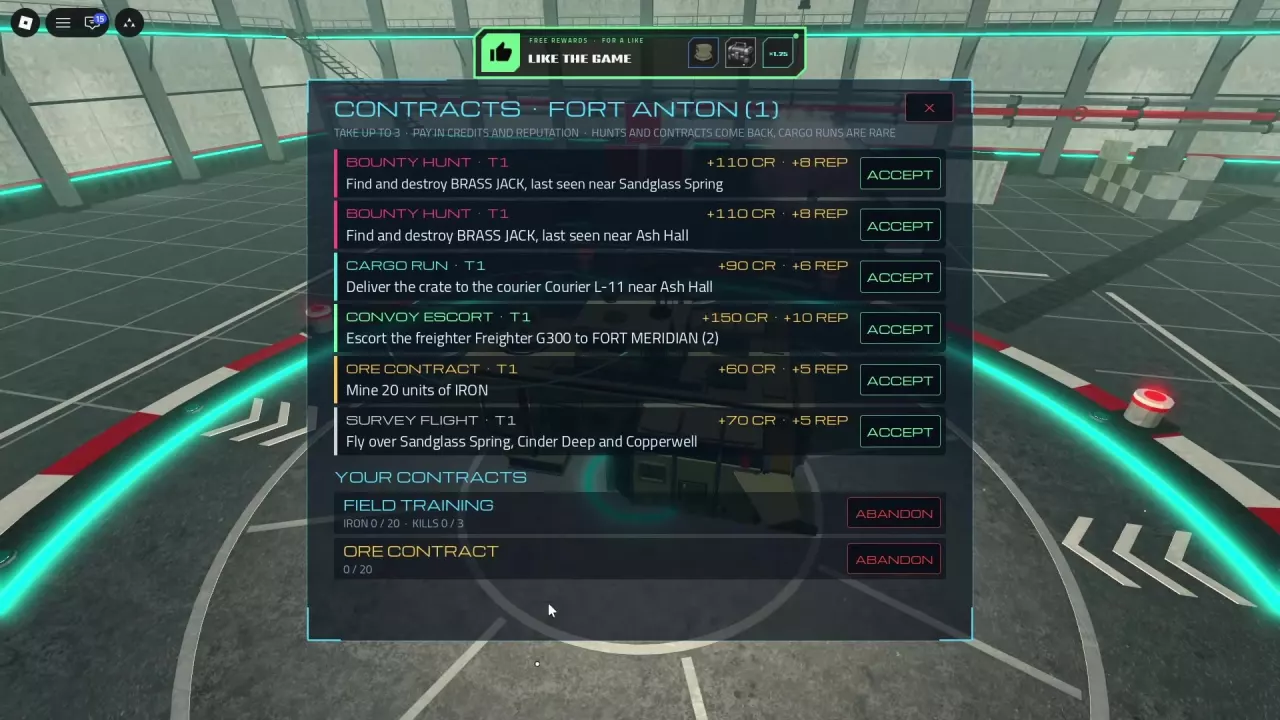
Compare Skyships contract objectives and rewards, manage up to three active contracts, and choose mining, bounty, delivery or survey tasks for your next trip.
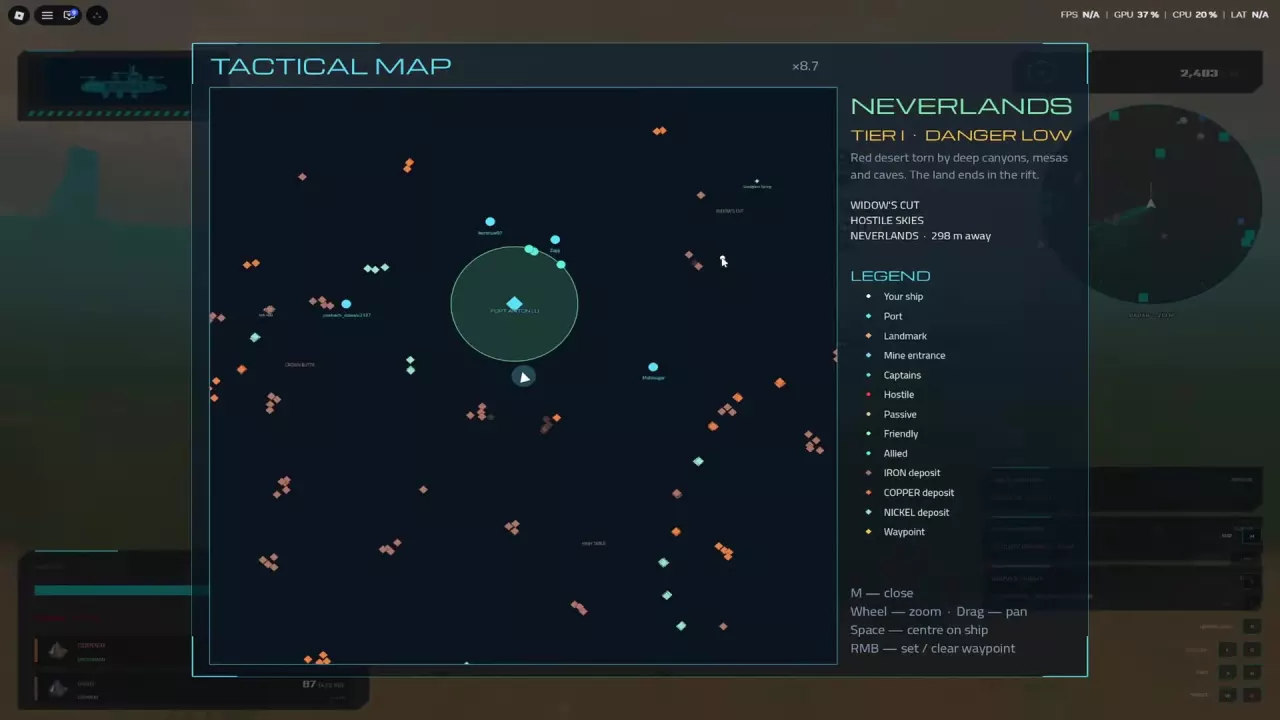
Read the Skyships Tactical Map, set a waypoint, find port services and dock at Fort Anton, Fort Meridian or Fort Cedars.