SkyshipsWiki

Skyships Contracts: Objectives, Rewards and Reputation

Last updated:

Choose contracts that fit your next mining trip, fight or delivery route. Compare their objectives and rewards, then use the port’s contract menu to accept tasks and track your progress.

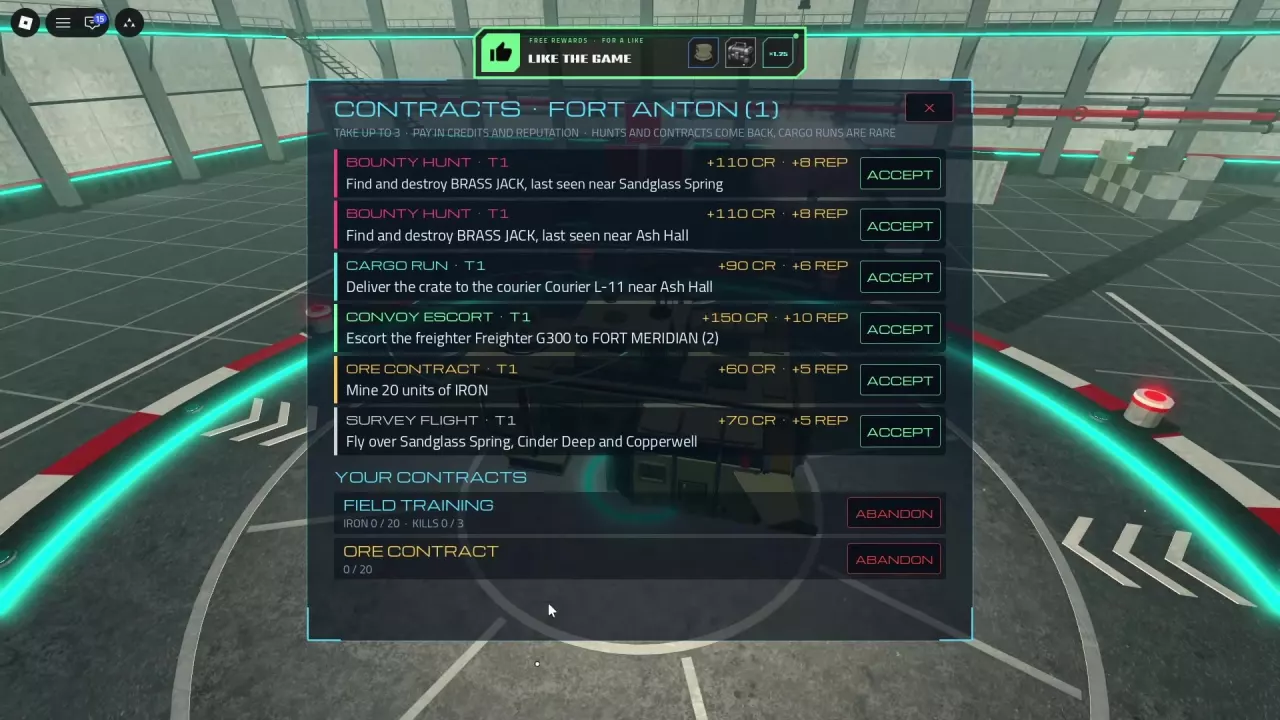
Fort Anton contract menu with ACCEPT buttons, active objectives and ABANDON controls.

Directory

7 objects

Find contract objectives and compare rewards for their stated offer conditions.

Bounty Hunt

Bounty Hunt · T1

Type
Bounty contract
Objective
Find and destroy the named bounty target.
Iron required
—
Kills required
—
Credits
110 CR (Each listed Fort Anton T1 BRASS JACK contract)
Reputation
8 REP (Each listed Fort Anton T1 BRASS JACK contract)
Reward
—
More details
Tier
1 (Fort Anton BRASS JACK listings)
Target
BRASS JACK (Fort Anton T1 listings)
Destination
Sandglass Spring (One Fort Anton T1 BRASS JACK contract)
Destination
Ash Hall (Another Fort Anton T1 BRASS JACK contract)
Blueprint reward
M14 14mm MG blueprint (Tutorial Bounty Hunt near Ash Hall)
Target
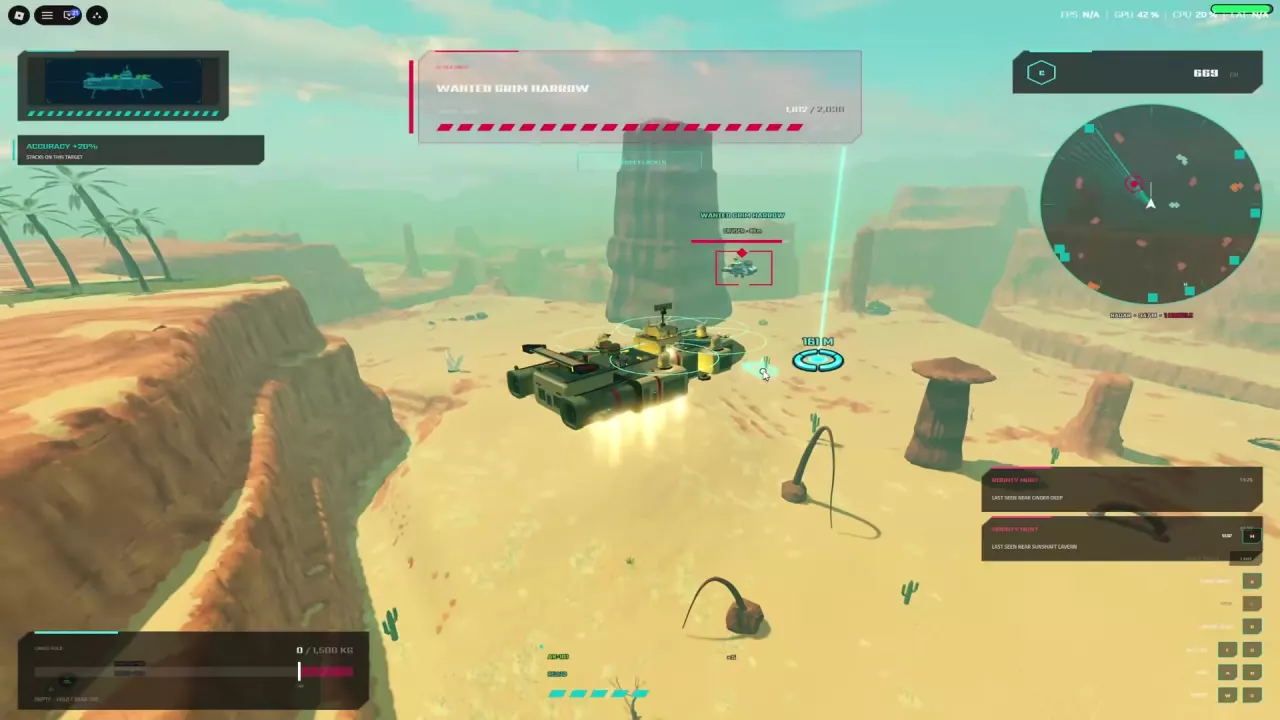
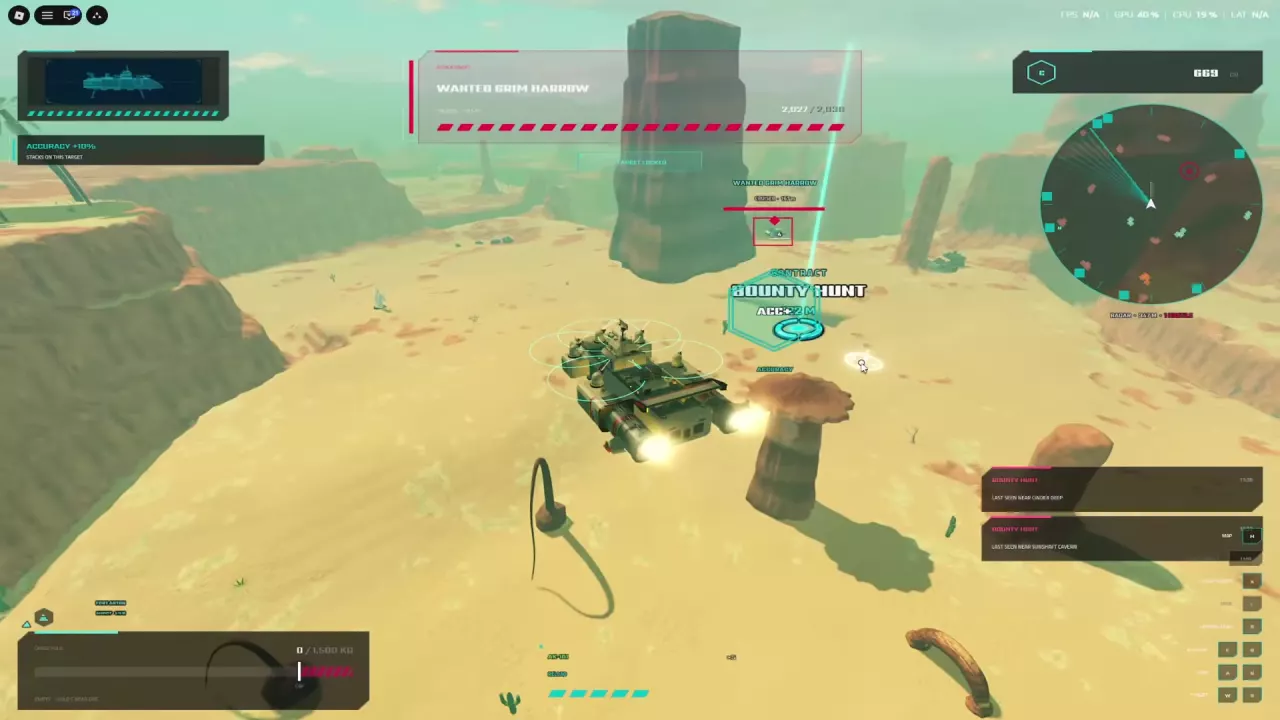
Wanted Grim Harrow (Later bounty example)
Cargo Run

Cargo Run · T1

Type
Delivery contract
Objective
Deliver the contract cargo to its assigned Courier.
Iron required
—
Kills required
—
Credits
90 CR (Fort Anton T1 delivery to Courier L-11)
220 CR (Completed delivery example departing Fort Meridian; tier unspecified)
Reputation
6 REP (Fort Anton T1 delivery to Courier L-11)
Reward
—
More details
Tier
1 (Fort Anton listing)
Recipient
Courier L-11 (Fort Anton T1 listing)
Destination
Near Ash Hall (Fort Anton T1 listing)
Cargo
Crate (Fort Anton T1 listing)
Route
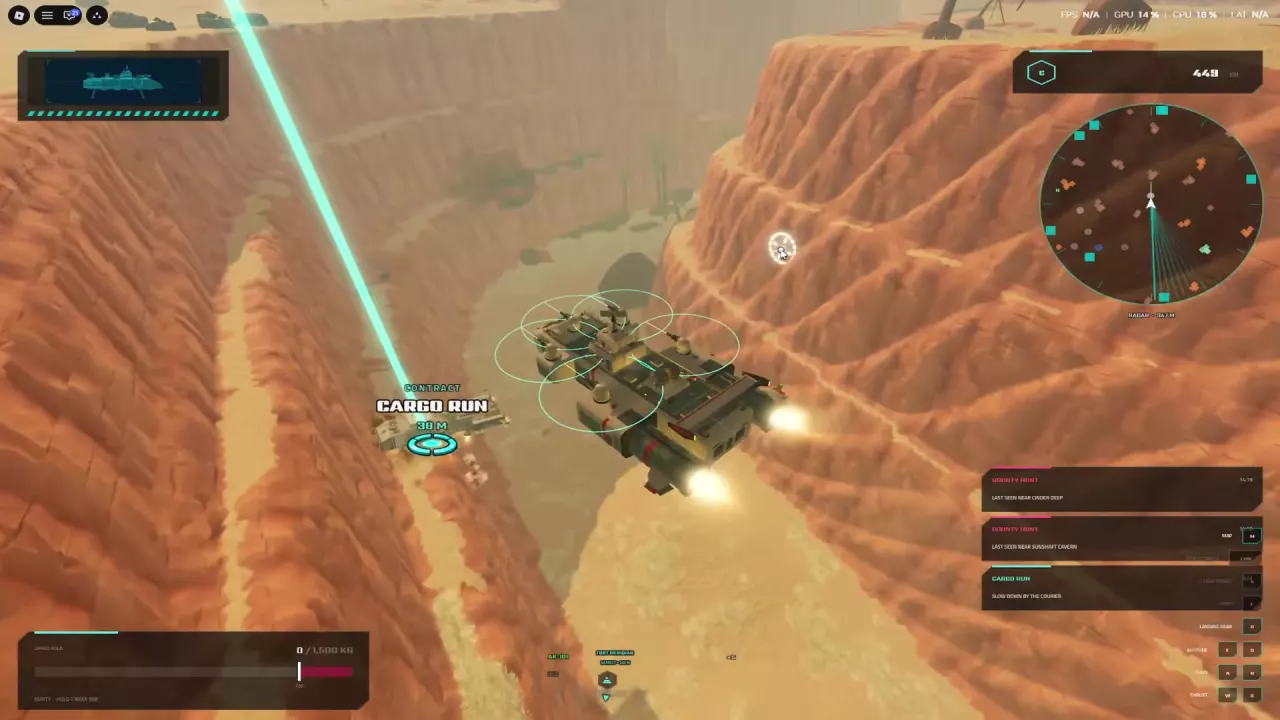
From Fort Meridian into the Red Desert canyon, following the Cargo Run marker. (220 CR delivery example)
Delivery
Slow down beside the Courier and move close until the cargo is handed over. (Completed delivery example)
Completion message
Cargo handed over (Completed delivery example)
Deliver contract cargo to
Courier (Follow the recipient assigned by the contract.)

Convoy Escort

Convoy Escort · T1

Type
Escort contract
Objective
Escort Freighter G300 to FORT MERIDIAN (2). (Fort Anton T1 listing)
Iron required
—
Kills required
—
Credits
150 CR (Fort Anton T1 listing)
Reputation
10 REP (Fort Anton T1 listing)
Reward
—
More details
Tier
1 (Fort Anton listing)

Ore Contract

Ore Contract · T1

Type
Mining contract
Objective
—
Iron required
20 units (Fort Anton T1 listing)
Kills required
—
Credits
60 CR (Fort Anton T1 listing)
Reputation
5 REP (Fort Anton T1 listing)
Reward
—
More details
Tier
1 (Fort Anton listing)
Resource
Iron (Fort Anton T1 listing)
Mining progress example
Mining 19 Iron advances the objective to 19/20 while the Iron is in the cargo hold. (Iron collection example)

Survey Flight

Survey Flight · T1

Type
Survey contract
Objective
Fly over Sandglass Spring, Cinder Deep, and Copperwell. (Fort Anton T1 listing)
Iron required
—
Kills required
—
Credits
70 CR (Fort Anton T1 listing)
Reputation
5 REP (Fort Anton T1 listing)
Reward
—
More details
Tier
1 (Fort Anton listing)
Survey locations
3 locations (Three-location Survey Flight)
Failure condition
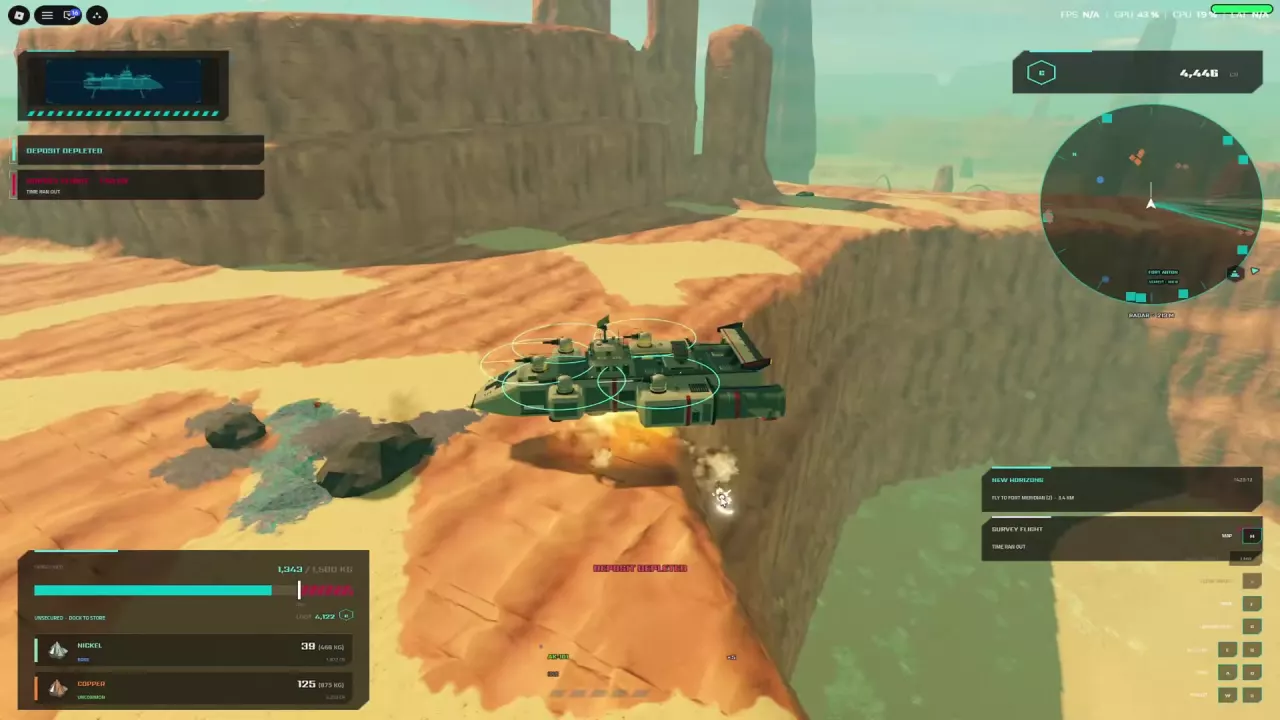
The contract fails when its timer expires. (Timed Survey Flight)

Field Training

Type
Training quest
Objective
—
Iron required
20 units
Kills required
3 kills
Credits
—
Reputation
—
Reward
Blueprint
More details
Enemy examples
Raider Hornet and Training Raider kills advance the kill objective.
Collection progress
The Iron objective can reach 20/20 while the collected Iron remains aboard the ship. (Iron collection example)

New Horizons

Type
Travel quest
Objective
Fly to Fort Meridian.
Iron required
—
Kills required
—
Credits
—
Reputation
—
Reward
—

Contracts and Quest Objectives

Bounty Hunt, Cargo Run, Convoy Escort, Ore Contract and Survey Flight cover combat, delivery, escort, mining and exploration. Field Training combines Iron collection with enemy kills, while New Horizons sends you to Fort Meridian.

Compare rewards under the stated offer conditions. Fort Anton’s T1 rewards belong to those offers; a different destination or contract can have a different payout. For example, the Cargo Run delivery departing Fort Meridian into the Red Desert canyon pays 220 CR, while the Fort Anton T1 offer for Courier L-11 pays 90 CR and 6 REP.

Accept, Track and Abandon Contracts

  1. Enter a port and open Quests or Contracts.
  2. Read the objective, named destination and rewards before choosing ACCEPT. You can hold up to three active contracts.
  3. Open YOUR CONTRACTS to check progress. Select ABANDON beside a contract you want to give up.
  4. Select LEAVE PORT when you are ready to pursue your objectives.

Accepted contracts appear in your active objectives. Hunts and contracts reappear, while Cargo Run offers are less common.

Fort Anton contract menu with ACCEPT buttons, active objectives and ABANDON controls.

Choose Contracts for Your Next Trip

  • Mining Iron: Prioritize Ore Contract. Its collection objective fits the activity you already plan to do. Field Training also suits a mining trip if you intend to fight enemies along the way.
  • Heading into combat: Choose Bounty Hunt when you can pursue its assigned target. Field Training is useful when you still need its kill objective, but also plan time for Iron collection.
  • Traveling near a delivery destination: Choose Cargo Run when the assigned Courier fits your route. A short detour can be more practical than a higher-paying task in the opposite direction.
  • Making a dedicated survey trip: Choose Survey Flight when you can focus on reaching all three locations before its timer expires. Avoid combining it with a long mining stop.
  • Heading toward Fort Meridian: Consider Convoy Escort if you want to escort the freighter there. Among the listed Fort Anton T1 offers, it has the largest payout at 150 CR and 10 REP, but that alone does not make it the fastest way to earn either reward.

Choose by the work and travel involved, then compare payouts. For the wider choice between contracts and selling ore, see the Credits and ore-selling guide.

Bounty Hunt and Field Training

Bounty Hunt

  1. Read the target name and destination on your accepted contract.
  2. Leave port and follow the contract marker.
  3. Select the named bounty target and attack until it is destroyed to complete the hunt.

Fort Anton’s T1 BRASS JACK offers point to Sandglass Spring or Ash Hall, depending on the contract. Wanted Grim Harrow is a different bounty target, identified as a Cruiser; follow that contract’s marker instead of using the BRASS JACK destination.

The tutorial Bounty Hunt near Ash Hall awards an M14 14mm MG blueprint. To put that reward to use, follow the weapon building and equipping guide. For targeting, survival and retreat, see the combat guide.

Field Training

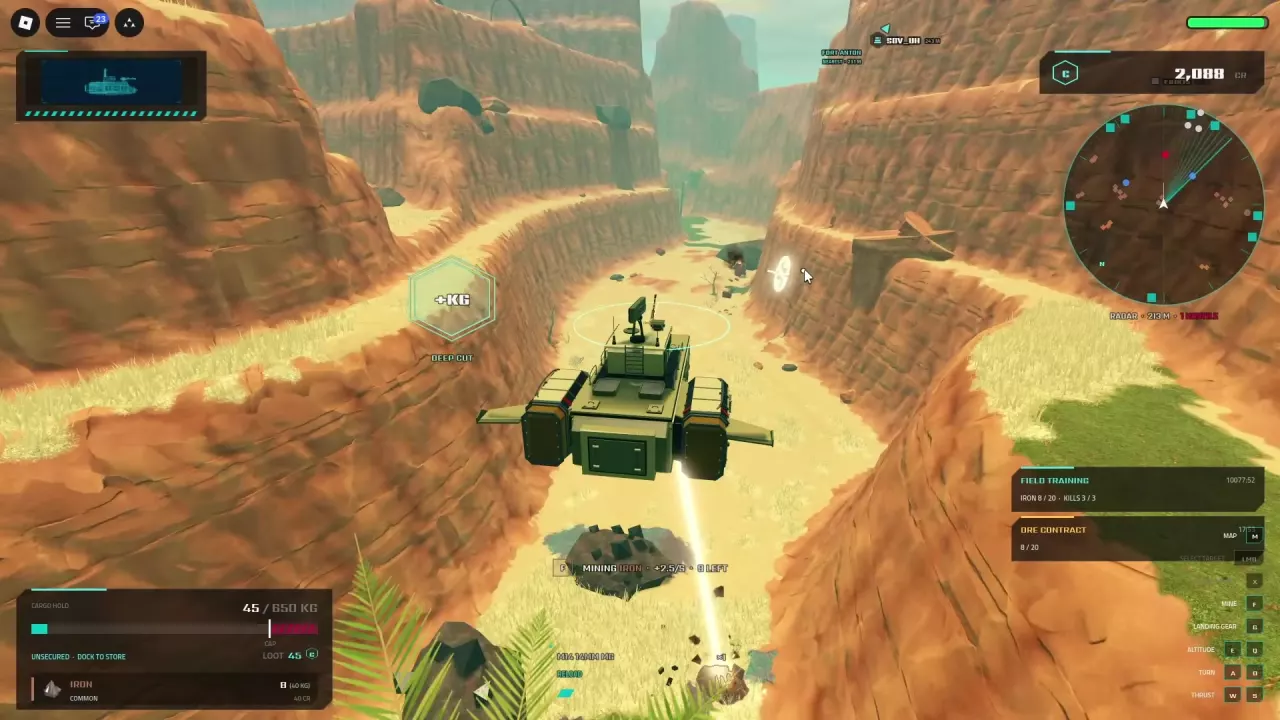
Complete both objectives: collect 20 Iron and make 3 enemy kills. Training Raider and Raider Hornet kills can advance the kill counter. Track the two counters separately: finishing the kills still leaves the Iron requirement to complete.

The Iron counter can reach 20/20 while the collected ore remains aboard your ship. Field Training rewards a blueprint.

Wanted Grim Harrow selected beside a Bounty Hunt destination marker.
Mining Iron with Field Training showing three kills completed and Iron collection still in progress.

Mining, Delivery, Escort and Survey Objectives

Ore Contract

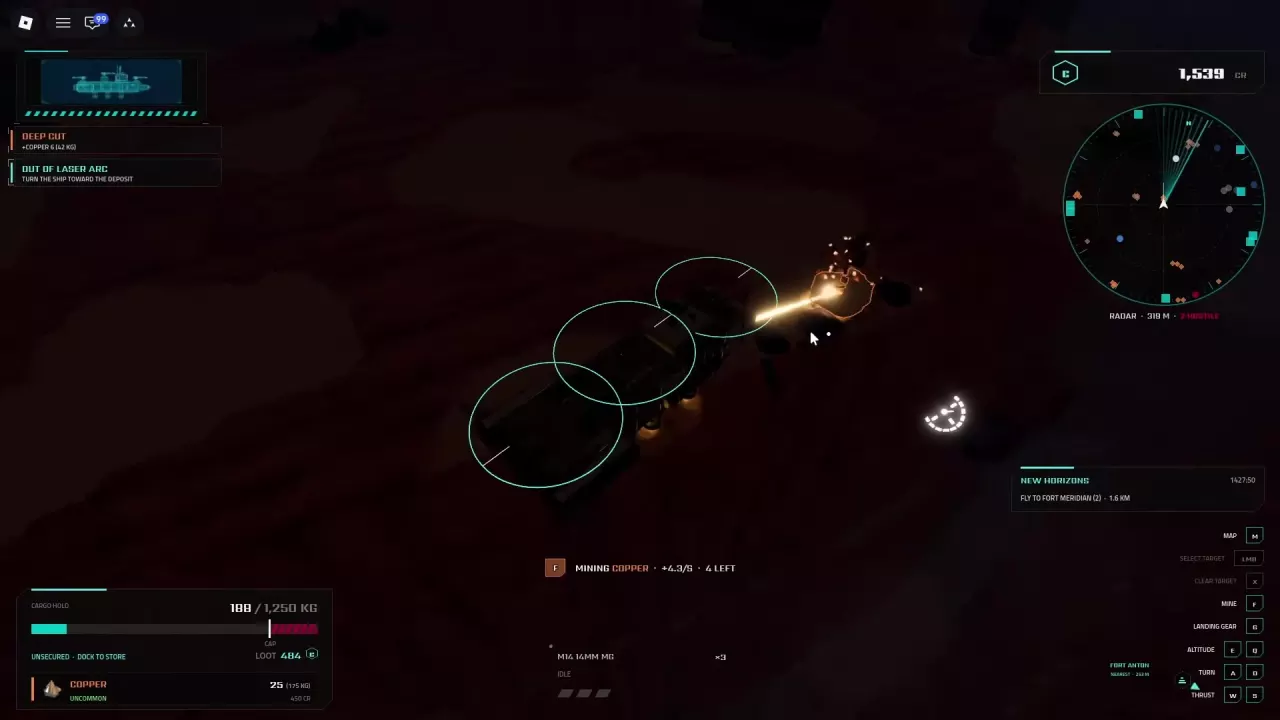
For the Fort Anton T1 offer, mine 20 units of Iron while the objective is active. Mining advances the collection counter while the Iron is in your cargo hold. If you need help approaching deposits or using the laser, follow the mining guide.

Cargo Run

Follow the delivery marker to the assigned Courier, slow down beside it, and move close until “Cargo handed over” and the completion message appear. The Fort Anton T1 offer sends a crate to Courier L-11 near Ash Hall. Use the Cargo Run delivery guide for the detailed Courier approach and Red Desert route.

Convoy Escort

The Fort Anton T1 objective is to escort Freighter G300 to FORT MERIDIAN (2). Choose this task when you are ready to accompany the freighter to that destination.

Survey Flight

For the Fort Anton T1 offer, fly over all three locations: Sandglass Spring, Cinder Deep and Copperwell. Complete the survey before the timer expires; running out of time fails the contract. Plan the three stops before setting off and keep the trip focused on the survey.

New Horizons

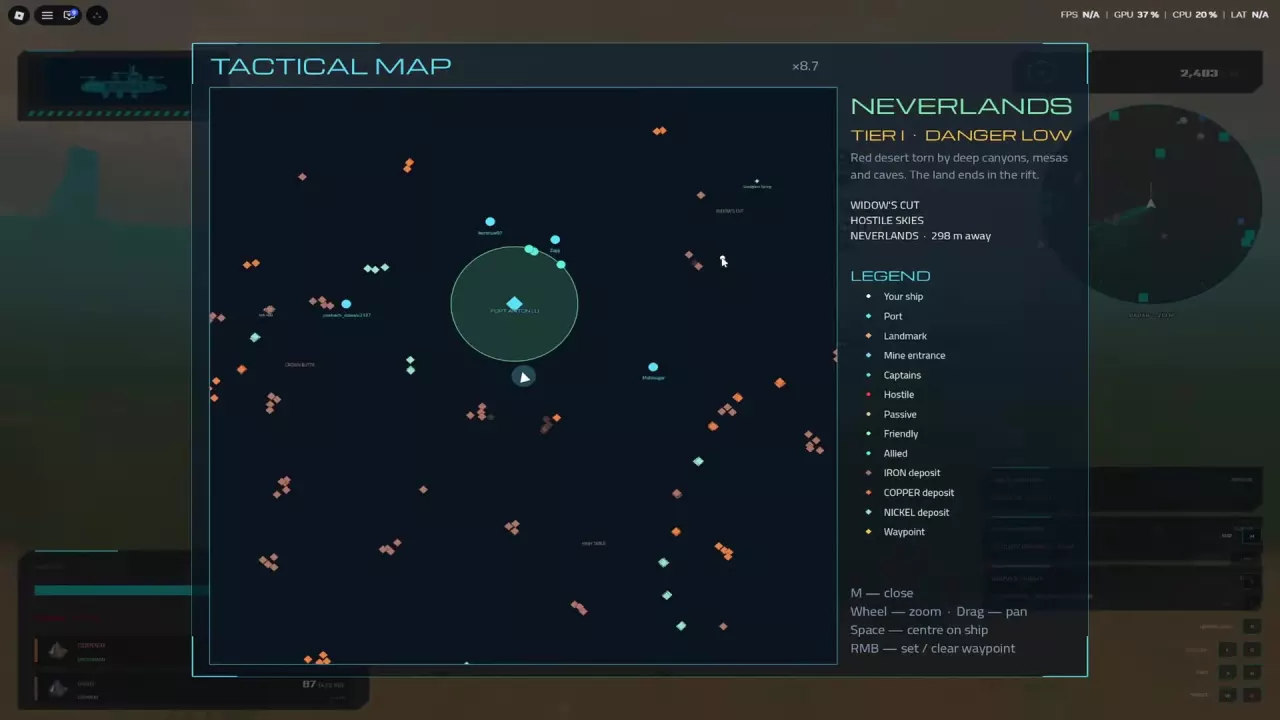
Follow the destination marker and fly to Fort Meridian. For help finding the port and approaching its docking area, use the map and docking guide.

Ship approaching the Courier at a Cargo Run marker in a canyon.
Survey Flight failure notification stating that time ran out.

Earn Reputation from Contracts

Complete contracts that list a REP reward to earn Reputation. CR is the Credits payout; REP is the separate Reputation payout awarded alongside it. The amounts depend on the specific offer.

Use the Reputation rewards in the contract directory to choose between tasks that fit your route. A larger REP payout is most useful when you can also complete the objective efficiently.