
Skyships Resources: Ore Weights, Prices and Acquisition
Compare ten Skyships resources by rarity, cargo weight and market price examples. Find early ore deposits and learn which materials to carry or keep.
Last updated:
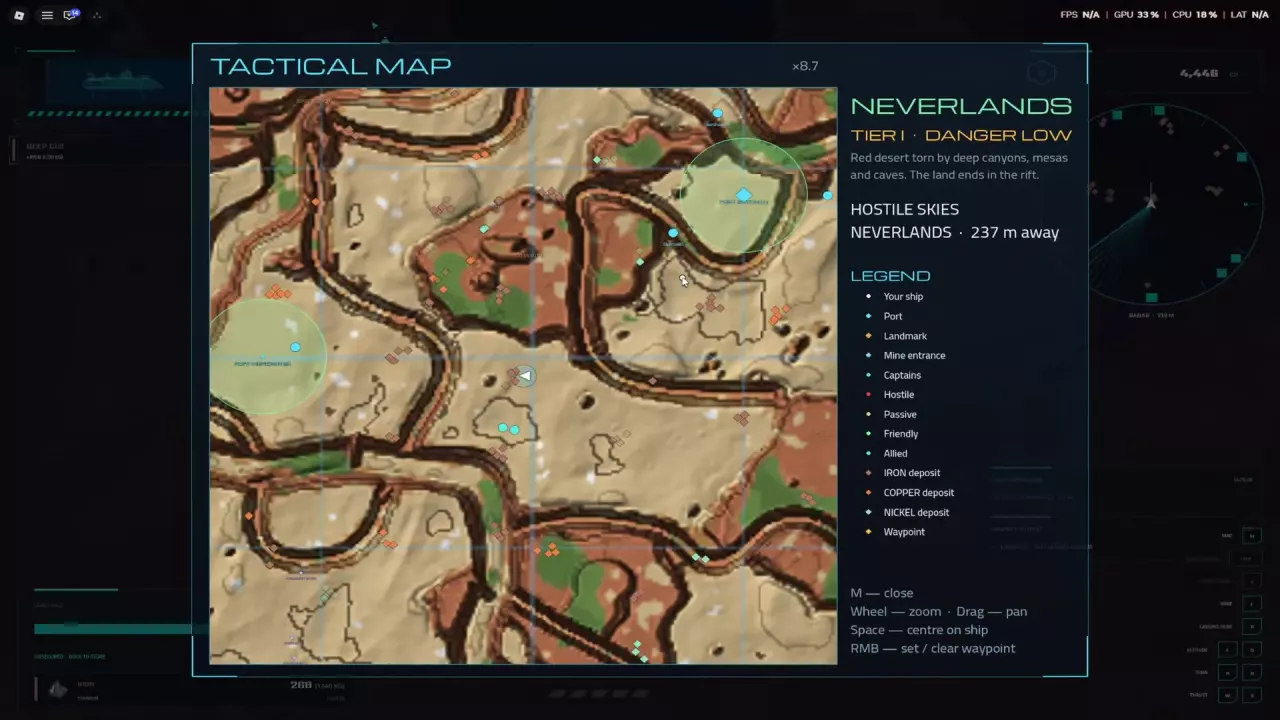
Selling mined ore gives you Credits for your next upgrade. Start with manageable resource runs, keep the materials you need, and add contracts that fit your route.
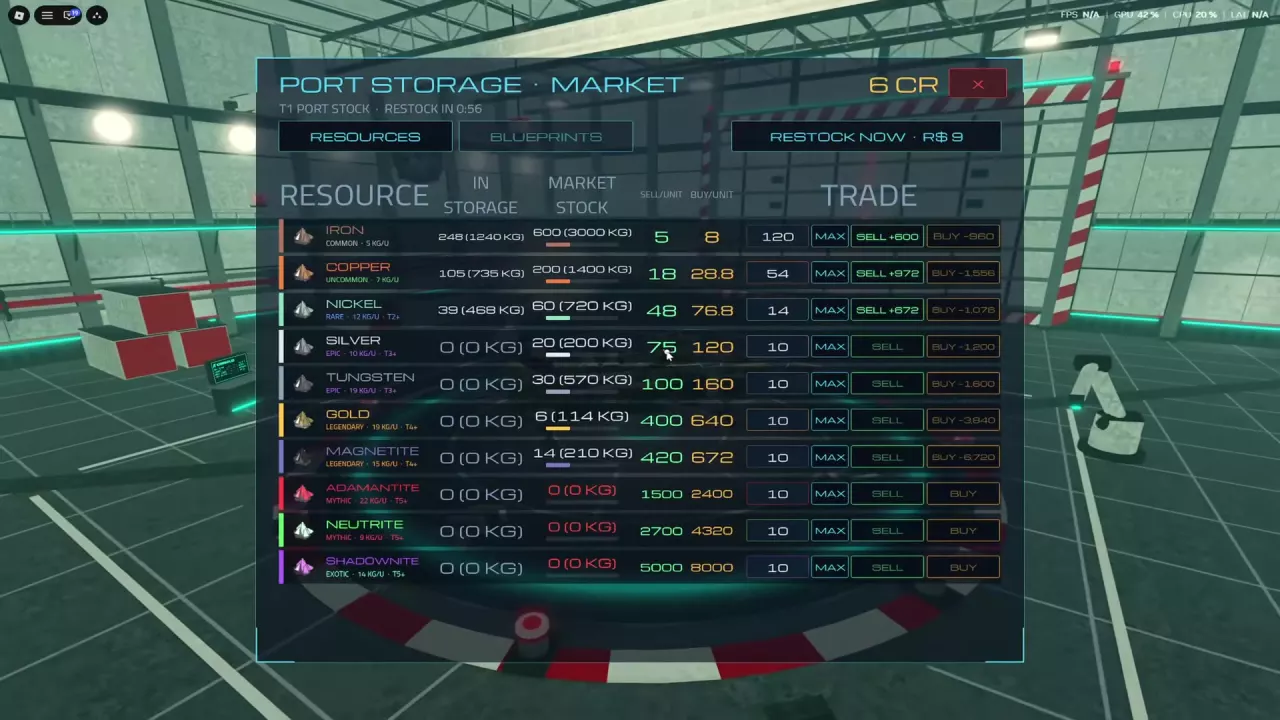
Mine nearby Iron or Copper, dock to secure the load, then sell surplus ore through Market → Resources. Add an Ore Contract when you already plan to mine Iron. At the example market prices, Copper carries more sale value per kilogram than Iron, and Silver beats Tungsten. Shadownite leads all ten ores at approximately 357.14 CR/kg, but access, mining speed, travel distance, and combat risk determine which trip is practical.
Docking stores your ore; selling it is the separate step that turns it into Credits. See cargo storage and overload for handling the load, or the resource market guide for the full trading process. If the laser will not mine, use the mining warning fixes.
Sell surplus, not your next build's materials. Keep 12 Iron if you still need to build the training M14 from its blueprint, and reserve the materials required by your planned research. Selling those materials now can leave you needing another collection trip before you can upgrade.
Sale value per kilogram = sell price per unit ÷ weight per unit. The table ranks cargo value using example port market prices. It measures how much sale value an ore carries in your hold, not how quickly you can earn it.
| Ore | Weight per unit | Example sell price per unit | Sale value per kg |
|---|---|---|---|
| Shadownite | 14 kg | 5,000 CR | ≈357.14 CR/kg |
| Neutrite | 9 kg | 2,700 CR | 300 CR/kg |
| Adamantite | 22 kg | 1,500 CR | ≈68.18 CR/kg |
| Magnetite | 15 kg | 420 CR | 28 CR/kg |
| Gold | 19 kg | 400 CR | ≈21.05 CR/kg |
| Silver | 10 kg | 75 CR | 7.5 CR/kg |
| Tungsten | 19 kg | 100 CR | ≈5.26 CR/kg |
| Nickel | 12 kg | 48 CR | 4 CR/kg |
| Copper | 7 kg | 18 CR | ≈2.57 CR/kg |
| Iron | 5 kg | 5 CR | 1 CR/kg |
For a sale total, multiply the number of units sold by the unit sell price. For example, 33 Copper at 18 CR each sells for 594 CR and weighs 231 kg. That is the value of that load, not an hourly income rate.
The resource directory also lists rarities, market tier labels, buy prices, and acquisition details.
When two deposits are similarly reachable and cargo capacity is your main limit, favor the ore with the higher CR/kg. When travel or mining takes most of the trip, weigh that time against the extra sale value.
Shadownite's leading cargo value does not make it an automatic beginner destination. Choose deposits your current ship can reach and mine, then use the table to decide what deserves the available cargo space.
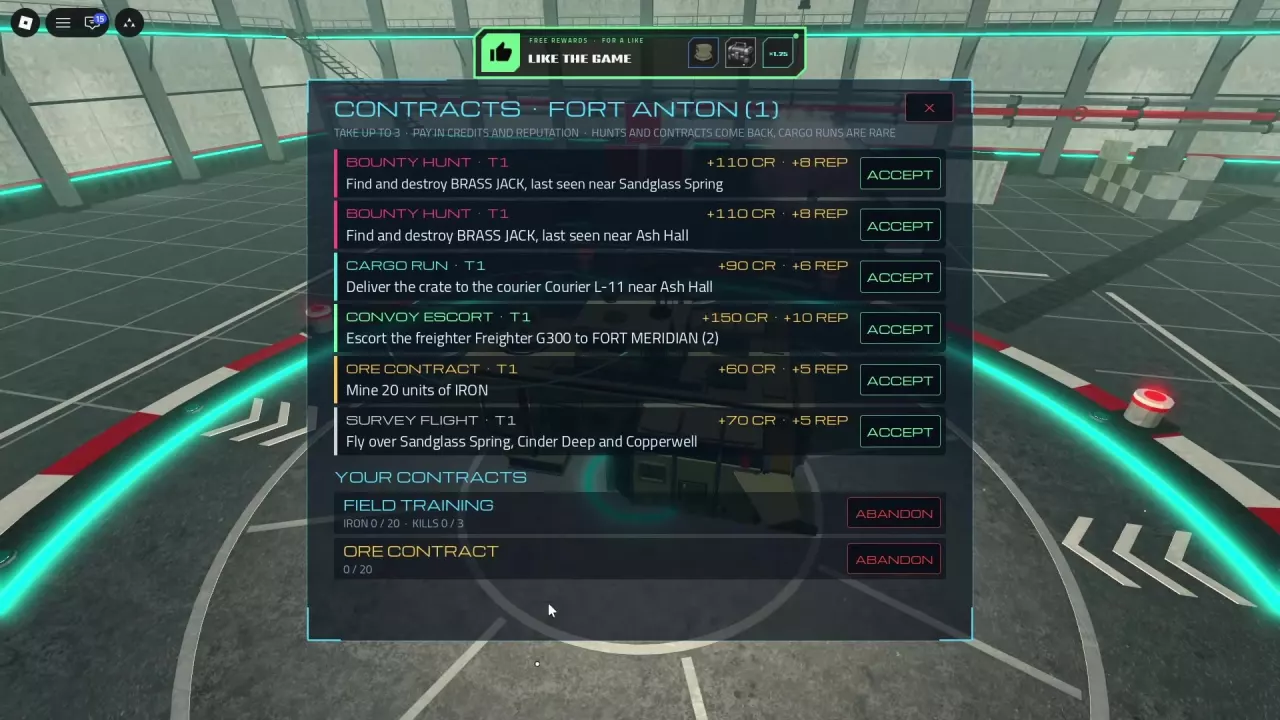
Open the port's Quests or Contracts menu before leaving. You can hold up to three active contracts, so choose objectives you can combine with the trip you already intend to make.
These Fort Anton T1 offers provide a useful comparison:
| Contract | Objective for this offer | Credits | Reputation |
|---|---|---|---|
| Ore Contract | Mine 20 units of Iron | 60 CR | 5 REP |
| Bounty Hunt | Find and destroy BRASS JACK at the assigned location | 110 CR | 8 REP |
| Cargo Run | Deliver a crate to Courier L-11 near Ash Hall | 90 CR | 6 REP |
| Convoy Escort | Escort Freighter G300 to Fort Meridian (2) | 150 CR | 10 REP |
| Survey Flight | Fly over Sandglass Spring, Cinder Deep, and Copperwell | 70 CR | 5 REP |
Convoy Escort has the highest listed payout here at 150 CR and 10 REP, but that alone does not make it the fastest income. Escort time and route difficulty still matter.
Read each offer's own reward: the 90 CR Cargo Run above is a Fort Anton T1 offer, while a separate completed delivery departing Fort Meridian paid 220 CR. See the contract guide for objectives and contract management.
Destroying enemy ships can award Credits alongside your mining and contract income. Training Raider reward examples include 18 CR for one kill and 4 CR for a separate kill with 3% damage contribution. Treat these as individual encounter rewards, not a fixed payment per Training Raider or a proportional damage-to-Credits formula.
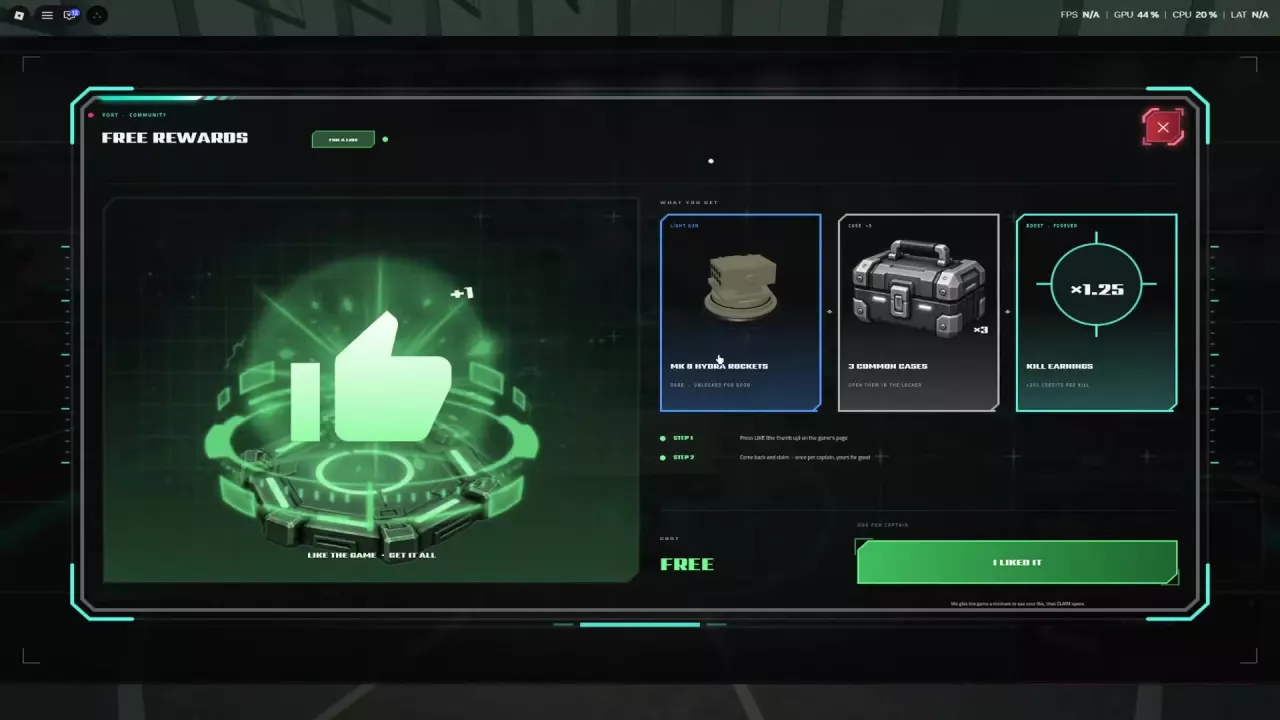
If you plan to earn through combat, claim the free Like Reward for a permanent ×1.25 kill-earnings multiplier, equivalent to 25% more Credits per kill. Use LIKE THE GAME at a port, like Skyships on its Roblox game page, then return and claim. The reward is claimable once per captain.
This boost applies to kill earnings, not ore sales or contract payouts. The Like Reward guide covers the full claim process and its other rewards.
Compare ten Skyships resources by rarity, cargo weight and market price examples. Find early ore deposits and learn which materials to carry or keep.
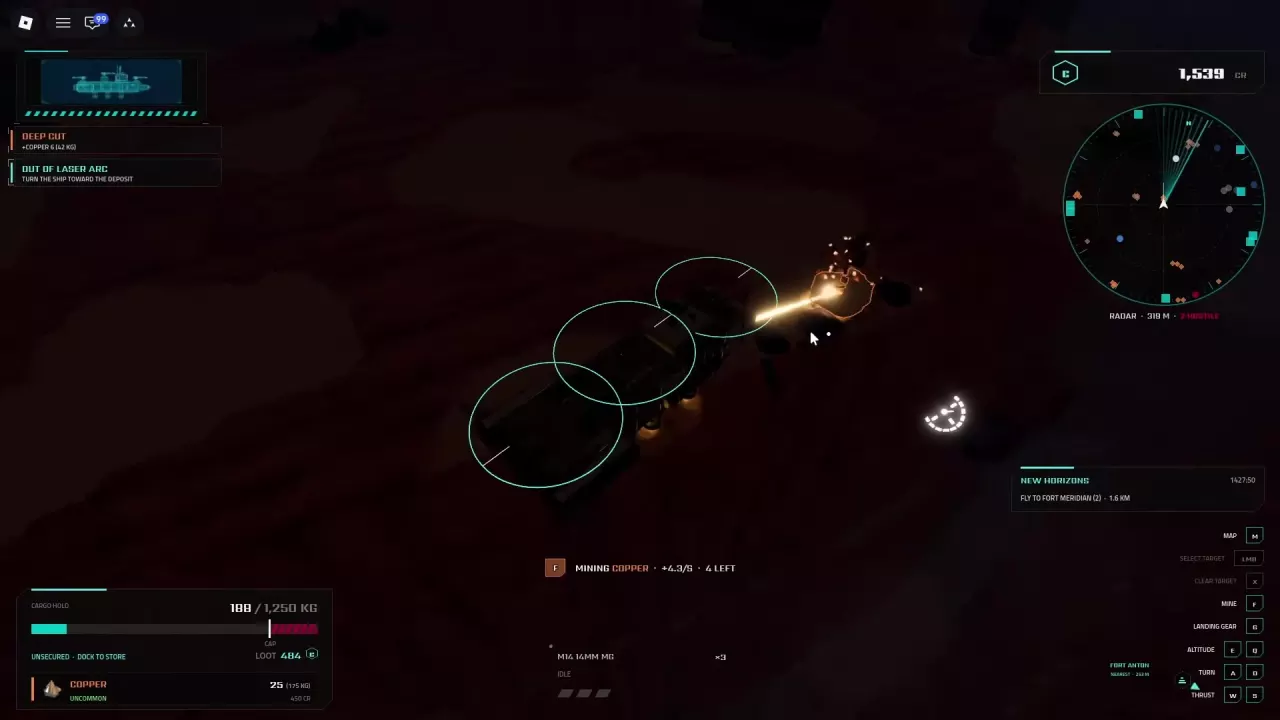
Find ore deposits in Skyships, hold F to mine, fix laser range and arc warnings, and improve your mining runs.
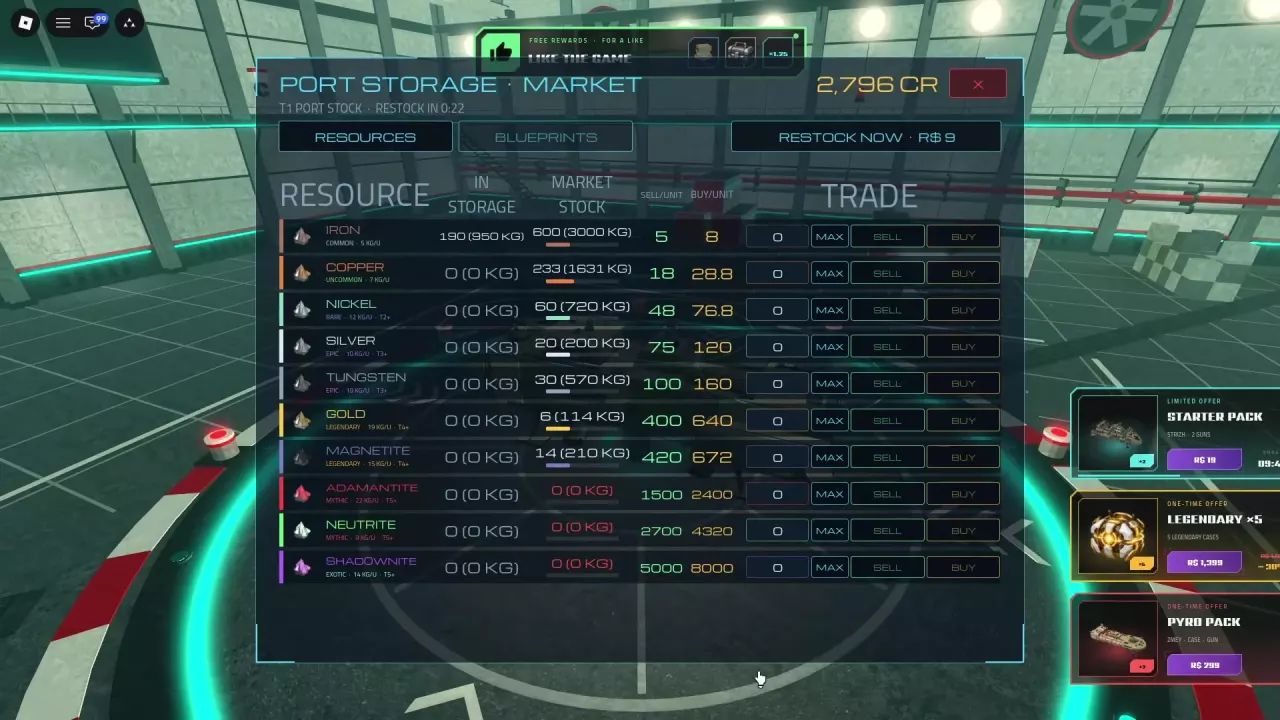
Learn how to buy and sell resources in the Skyships resource market, read storage and stock, calculate prices, and find restock options.
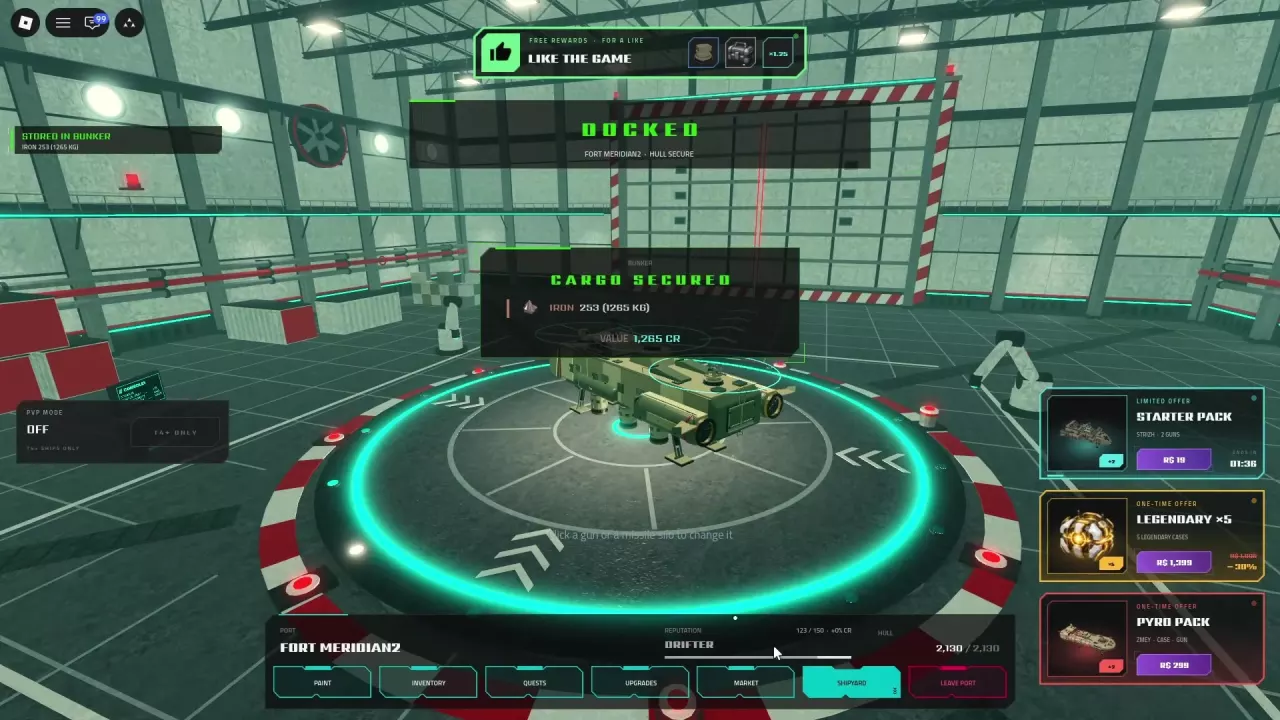
Learn how Skyships cargo weight and overload work, how to store resources in the Bunker, and which upgrades improve cargo retention.
Compare Skyships contract objectives and rewards, manage up to three active contracts, and choose mining, bounty, delivery or survey tasks for your next trip.
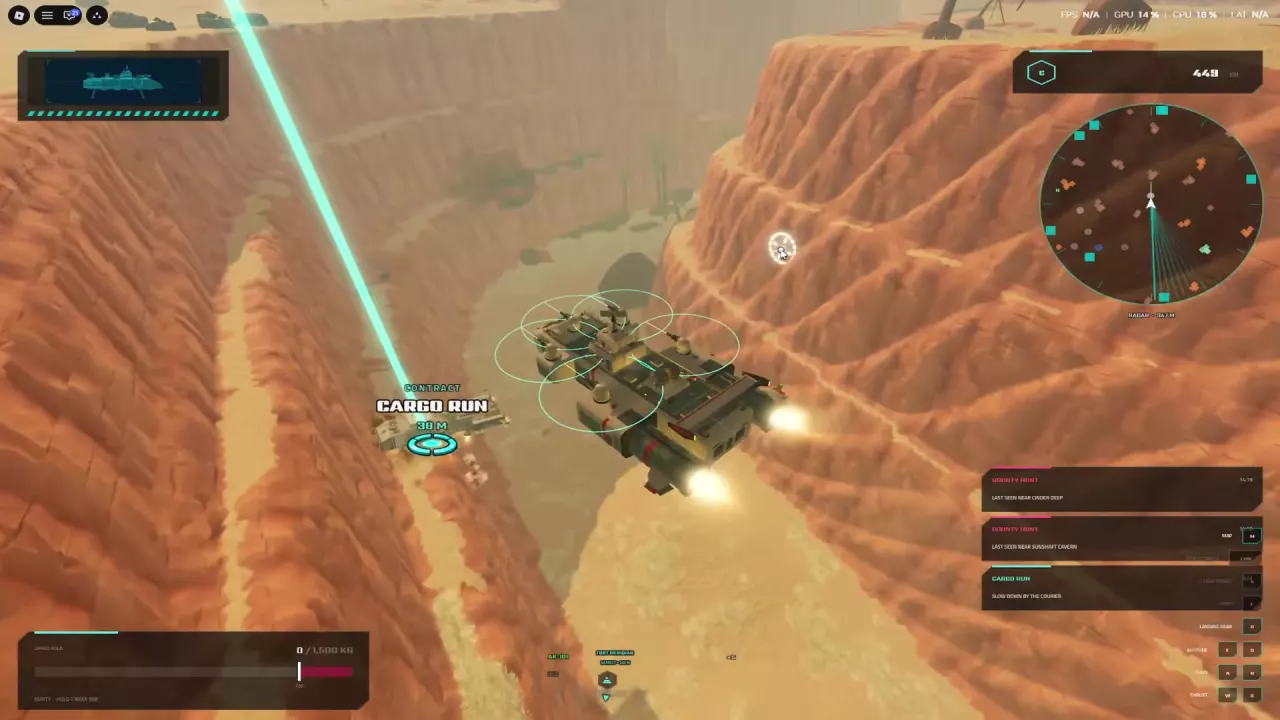
Complete a Skyships Cargo Run: follow the contract marker to your assigned Courier, slow down nearby, and confirm the cargo handover.
Claim the Skyships like reward for three Common Cases, a permanent Hydra Rockets unlock, and a permanent 1.25× kill earnings boost.